
Objectives
Overview
The Work Order application overview will familiarize you with the different screens and fields associated with creating a Work Order
Understanding the Work Order Header
From the Work Order header you will select the parameters of your work order.

Understanding Work Order Statuses
The Work Order statuses are color coded to assist you in determining their status
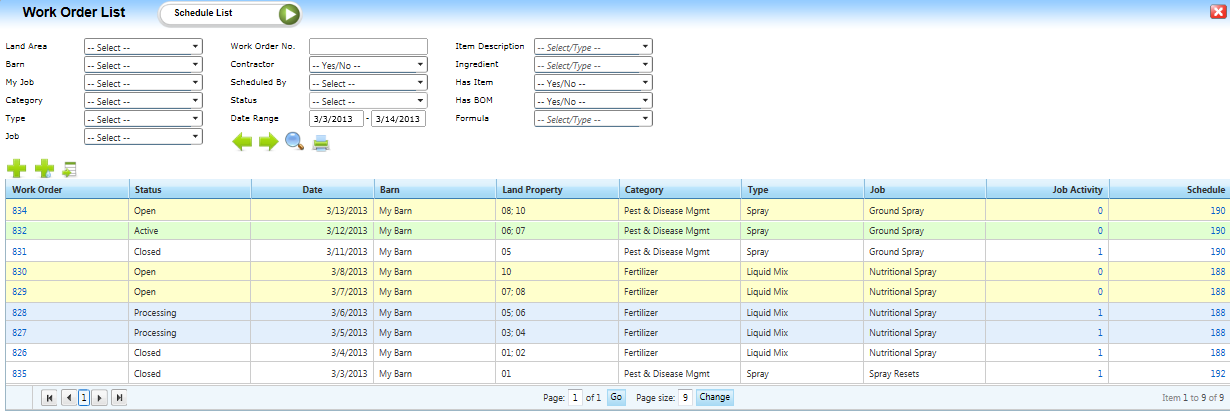
Work Order statuses:
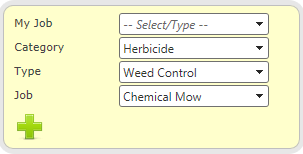
My Jobs is a predefined set of Categories,Types and Jobs. My Jobs is designed for most frequent and typical activities. It helps in speeding up the work order creation and prevents incorrect selections. Please refer to “Categories, Types, Jobs and My jobs” document for more information
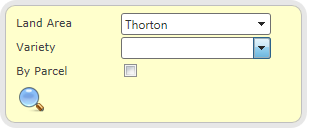
Land area selection in the Work Order will display lands associated with the Barn selected. You can also define the selection further by selecting a specific variety. Select the variety in the variety field. To display your available lands with parcels displayed place a check mark in the By Parcel field. When ready click the magnifying glass icon. Select the Land Area(s) that will be worked. When complete click the Submit Land icon to complete

Understanding the Work Order Gridview
The Work Order grid view displays information about a Work Order:
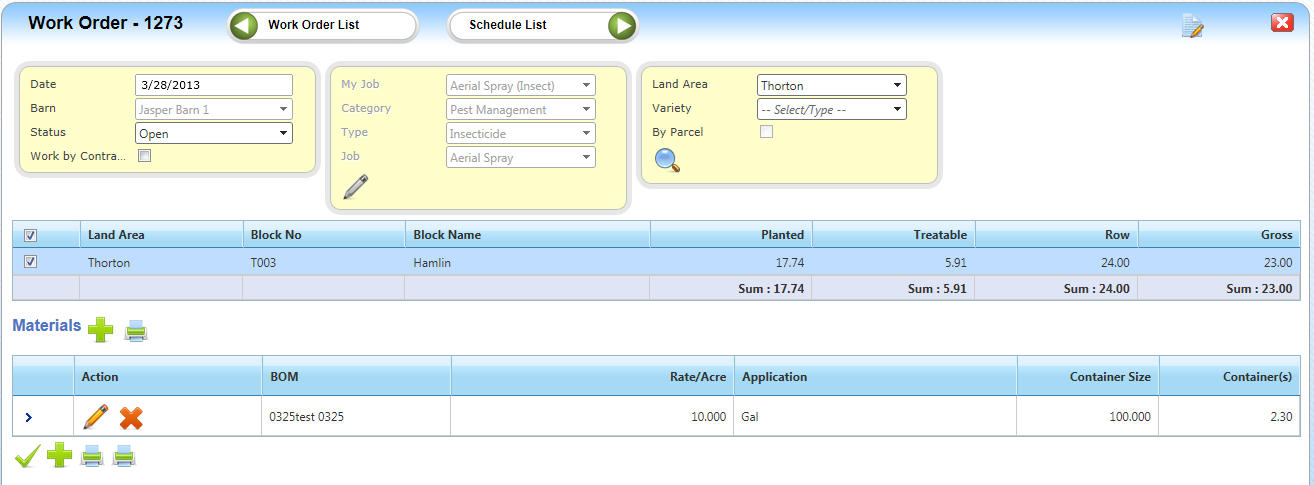
You can edit any work order that is not in the Active status
Understand the Work Order Materials Grid

The Work Order Materials grid displays
Understand the Work Order Button Dock
The button dock at the bottom of the Work Order allows you to submit a completed Work Order, create a new Work Order and Print either a Work Order Report and a Worker Protection Sheet (WPS)
![]()
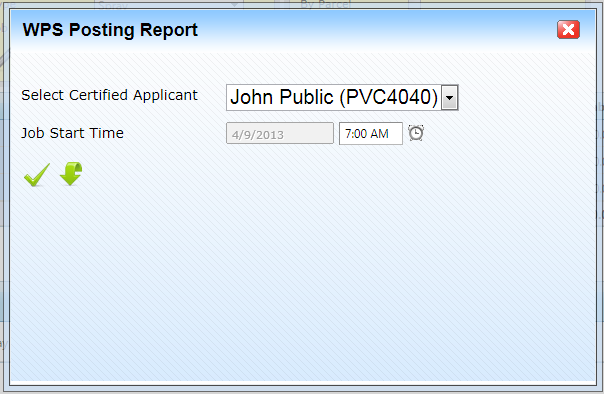
The WPS printer icon will print out the Worker Protection Posting Sheet (WPS). You will be required to select a certified applicant and the job start time first

The WO Report will print the details of the Work Order
Article ID: 18
Created On: May 16, 2013 at 11:47 AM
Last Updated On: Jun 6, 2013 at 12:59 PM
Online URL: http://kb.landmagic.com/article.php?id=18